prevent finger maul by using a trackball.
People who know me would tell you that I am a big fan of trackball as a replacement for using a mouse. Having tried a couple of different trackballs, the one I am currently using is the Sanwa Gravi, made by Elecom from Japan 🇯🇵. Thus far, it is one of the better ones I have used, espcially if you replace the stock bearing with a ceremic one.
Prior to using the Gravi, I had been using the Elecom Huge Trackball for about 5 years. The reason for buying a new one was that the scrollwheel on the Elecom Huge finally broke. Since I only had one trackball, and did not like using a mouse, I had to find something as good as the Huge. As a power computer user, this problem required urgent attention.
At this time, due to its greater fanfare, the only alternative that was on my radar was the Ploopy Classic Trackball. If I did not find out about the Sanwa Gravi, this review would probably be about the ploopy instead. The price of the ploopy was exorbitant at around $162, the shipping cost alone was something like 70$. The Sanwa Gravi on the other hand was $86 - including shipping. Making a choice between them without having tried either of the trackballs was risky. The decision became easier when I considered how important portability was for my workflow, and for that, I needed something wireless, which the Ploopy did not offer.
The first thing I noticed on the Gravi was how much better the scroll wheel was compared to the Elecom, maybe having used a broken scroll-wheel for so long makes you appreciate when you have a good one. Soon enough however, I was left with a sense of alarm as the stock bearing seems to have serious issues with traction. It was concerning enough that I assumed it was a faulty unit and had it returned for a replacement one. After about 2 weeks of waiting, I was dissapointed again as the second unit turned out to have the same issue with the bearing.
For the time being I accepted my fate, as there was no other good options around. The Sanwa Gravi, afterall, did not exist when I first purchased my Elecom Huge. Maybe I just have to cross my fingers and wait for some company somewhere to release something better.
The Elecom Huge was perfect in every way when I bought it, except for the fact that the scroll wheel and buttons were made of poor components. It's not initially noticeable, unless you try better quality ones, like the Gravi. Now, when I use my Elecom Huge, the buttons feels like something you find in cheap toys as compared to the Gravi.
The bearing on the Elecom Huge itself had no issues; unlike the Gravi, the stock bearing was good enough to not attract any negative attention. There are DIY videos online where people change the stock Elecom Huge bearing, but I never felt the need to do it. The Gravi on the other hand, comes with awful stock bearing - something had to be done about it.
With doing hardware related do-it-yourself things like this, there is always a worry that something might break, espcially since I just purchased it brand new. I have documented the entire process for changing the bearing below, in case you need to do it. Long story short, it was much easier than I anticipated and I did not break the trackball.
A few reddit threads had me convinced steel bearing was smoother, so I ordered steels ones too, but it did not turn out to be better than ceramic ones.
Past Mouses
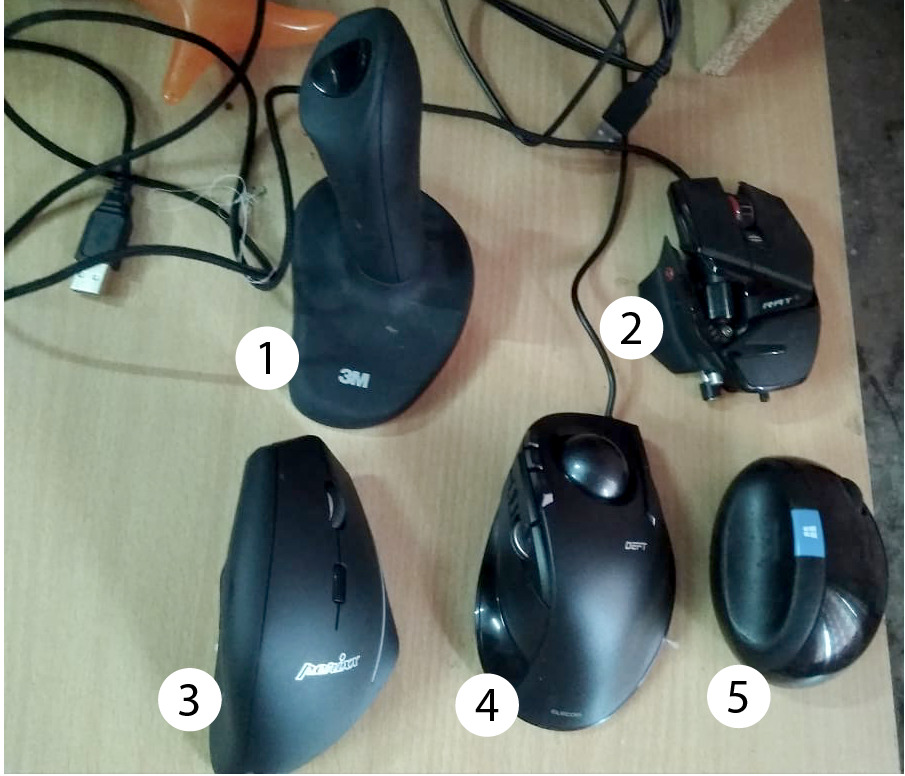
| Model | Current Price ($) | |
|---|---|---|
| 1 | 3M™ Wireless Ergonomic Mouse, Small, EM550GPS | 100 |
| 2 | R.A.T. 8+ | 100 |
| 3 | Perimice | ~ 20 |
| 4 | Elecom Deft M-DT1URBK | 51 |
| 5 | Microsoft Sculpt | 60 |
The first three on the list were quite useless; I did not use them for more than a few weeks. I was suffering from Repetitive Strain Injury during this period, and any discomfort, and the mouse would go to the storage box, if you notice, my choices were based on different designs, I was interested in trying out unorthodox input devices, more than buying better versions of the same design.
The ones I liked and used was the Elecom Deft and Microsoft Sculpt. Because of how good the Elecom Deft was, it made me buy the Elecom Huge.
I would like to leave with a video on how far you can customize your mouse and keyboard, I must be quite close to what is ideal.
What Next ?
The Sanwa Supply will one day stop working - just like the Elecom Huge, what to do then ? the most we can hope for is the trackball market to keep on experimenting with better designs - the more buttons the better; perhaps one with mechnical switches, you never know. While putting together this article, I stumbled upon the ProtoArc EM03 Wireless Bluetooth , it seems quite good and similar to the Sanwa Supply at half the price, but maybe the components are made of cheaper material; who knows ? I am not willing to take the risk until I have to.
Changing Stock Bearing
In this section I have provided information on how I changed the stock bearing on the Gravi:
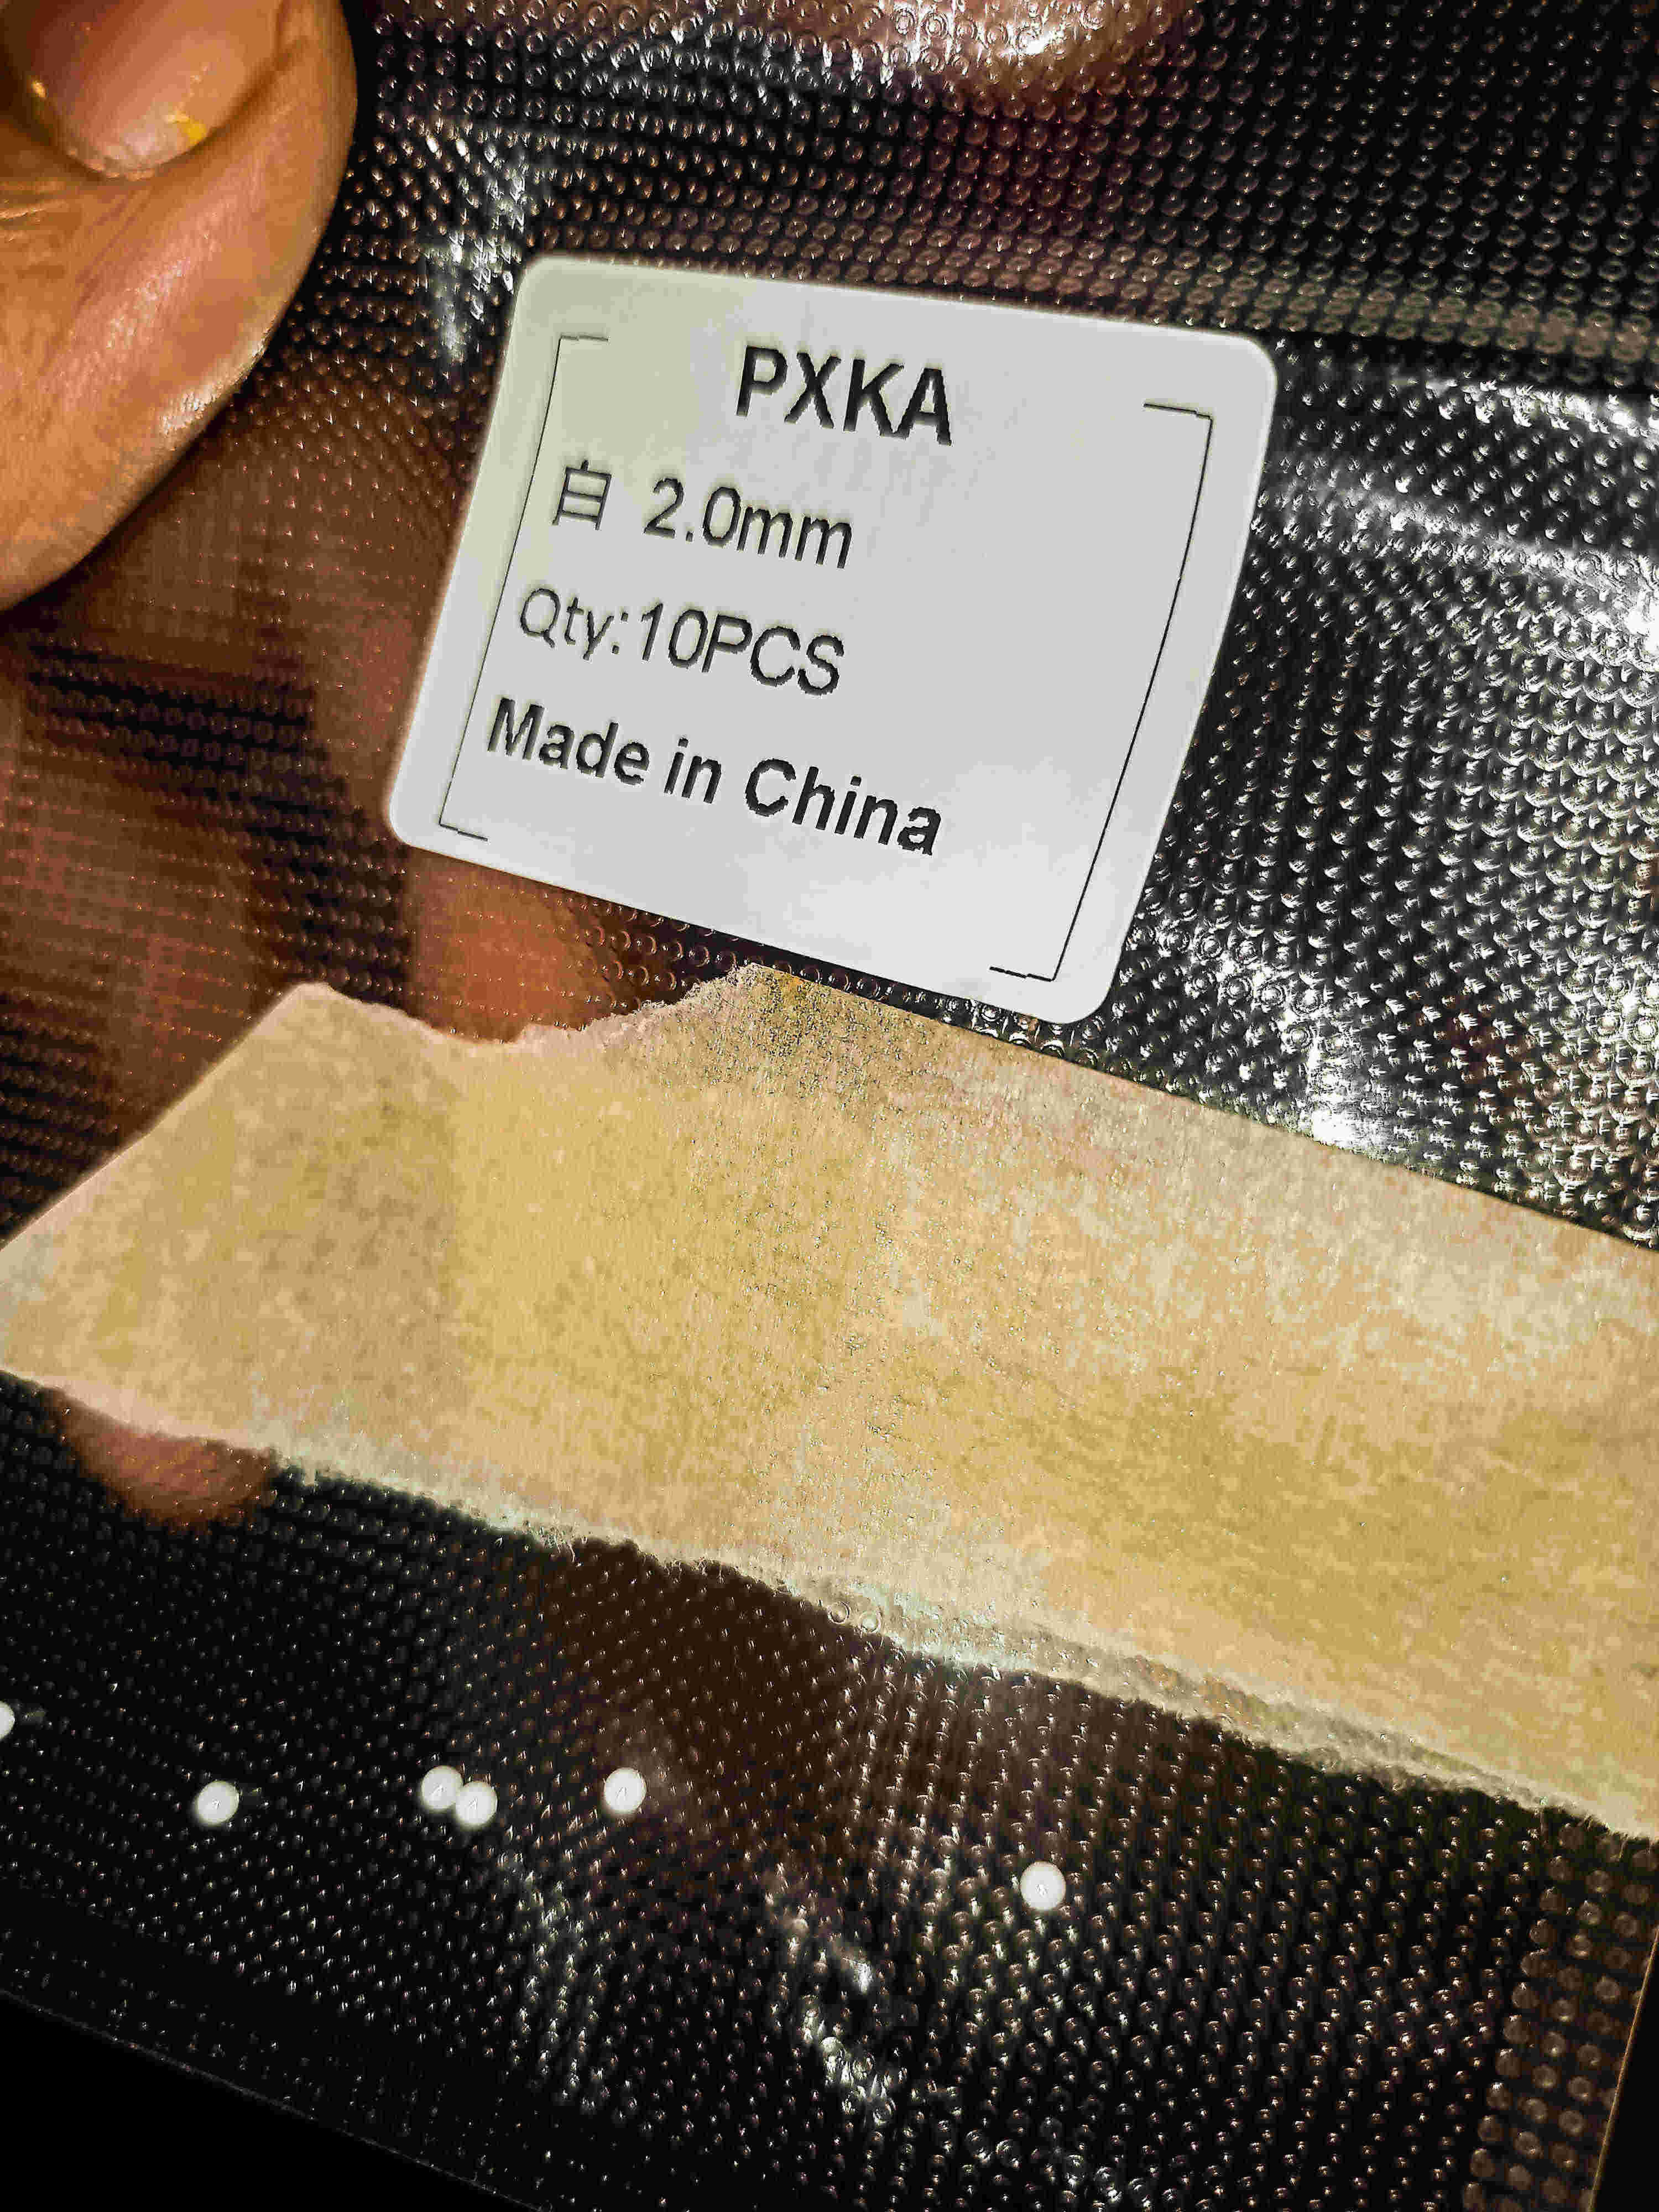
The first thing you need to do is get your hands on the replacement bearing; I generally use AliExpess but you can find them on other ecommerce outlets too.
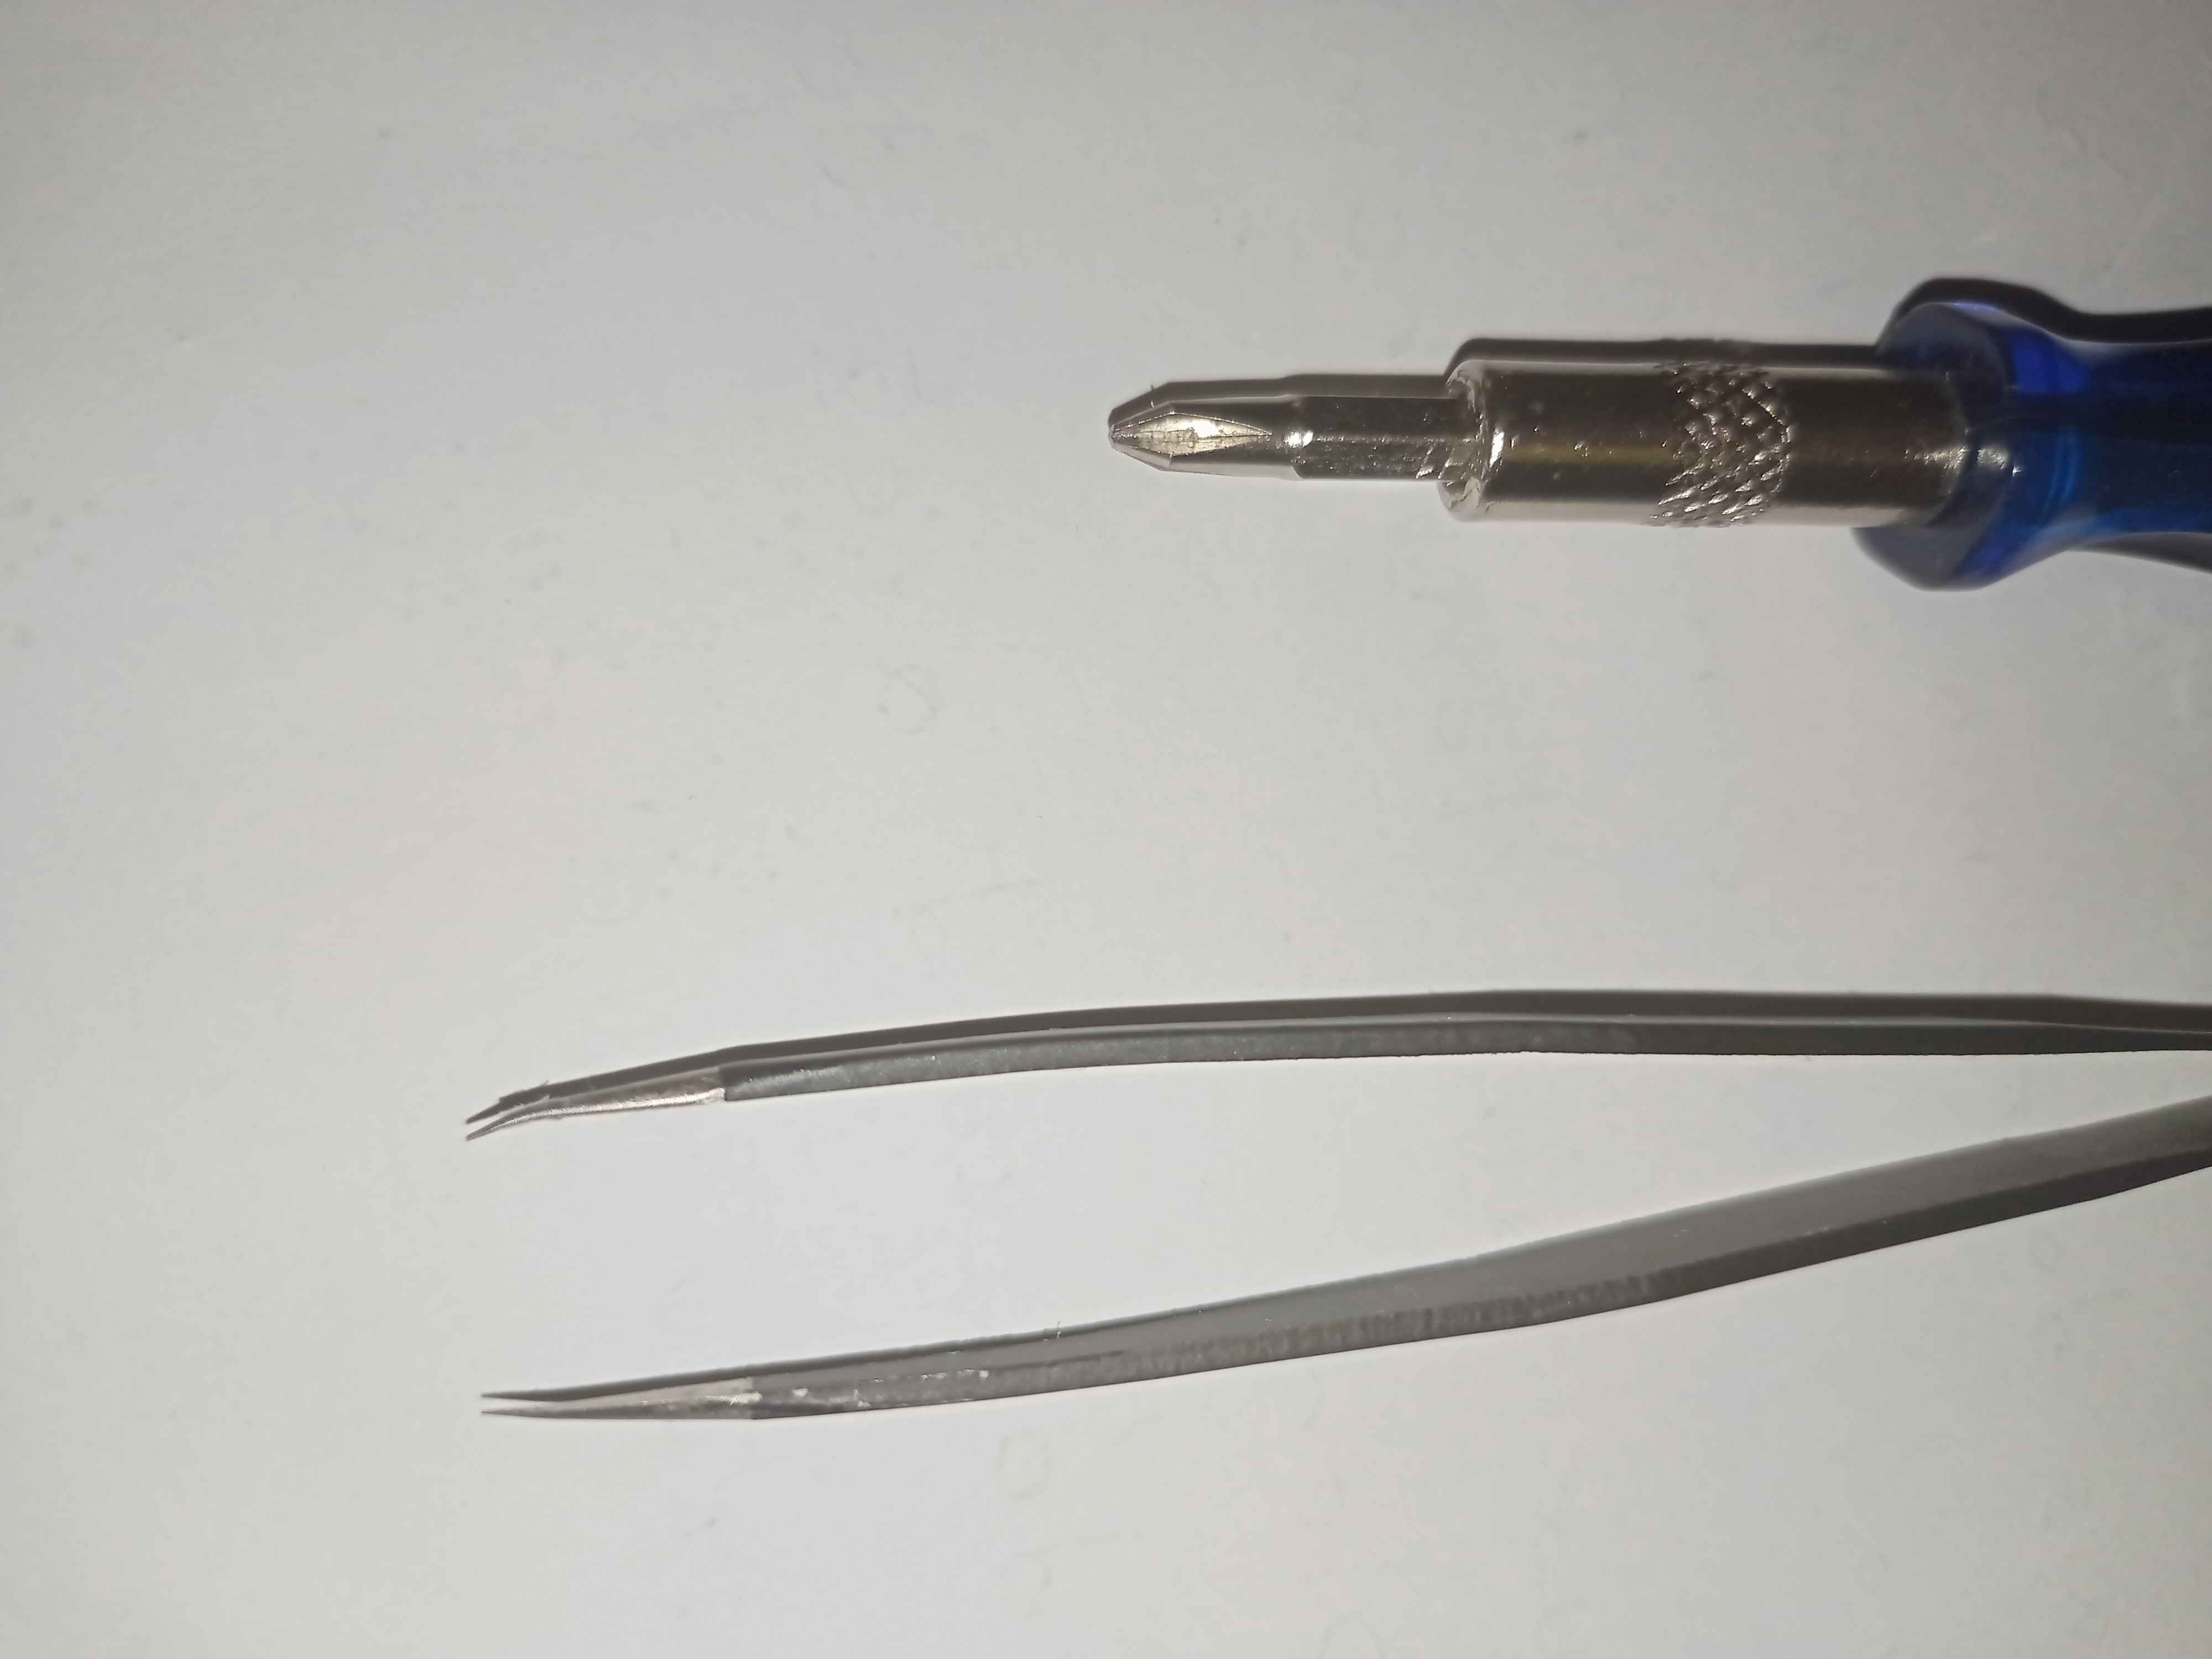
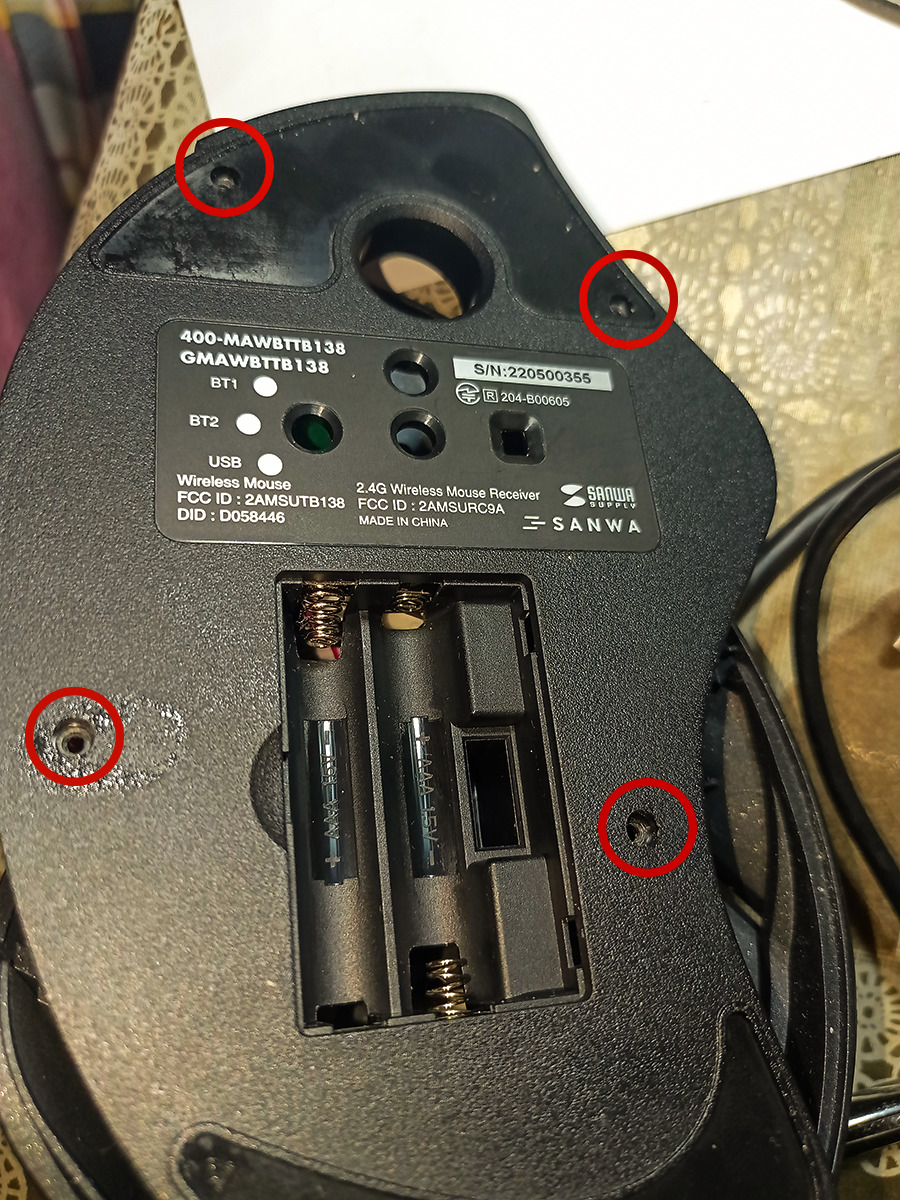
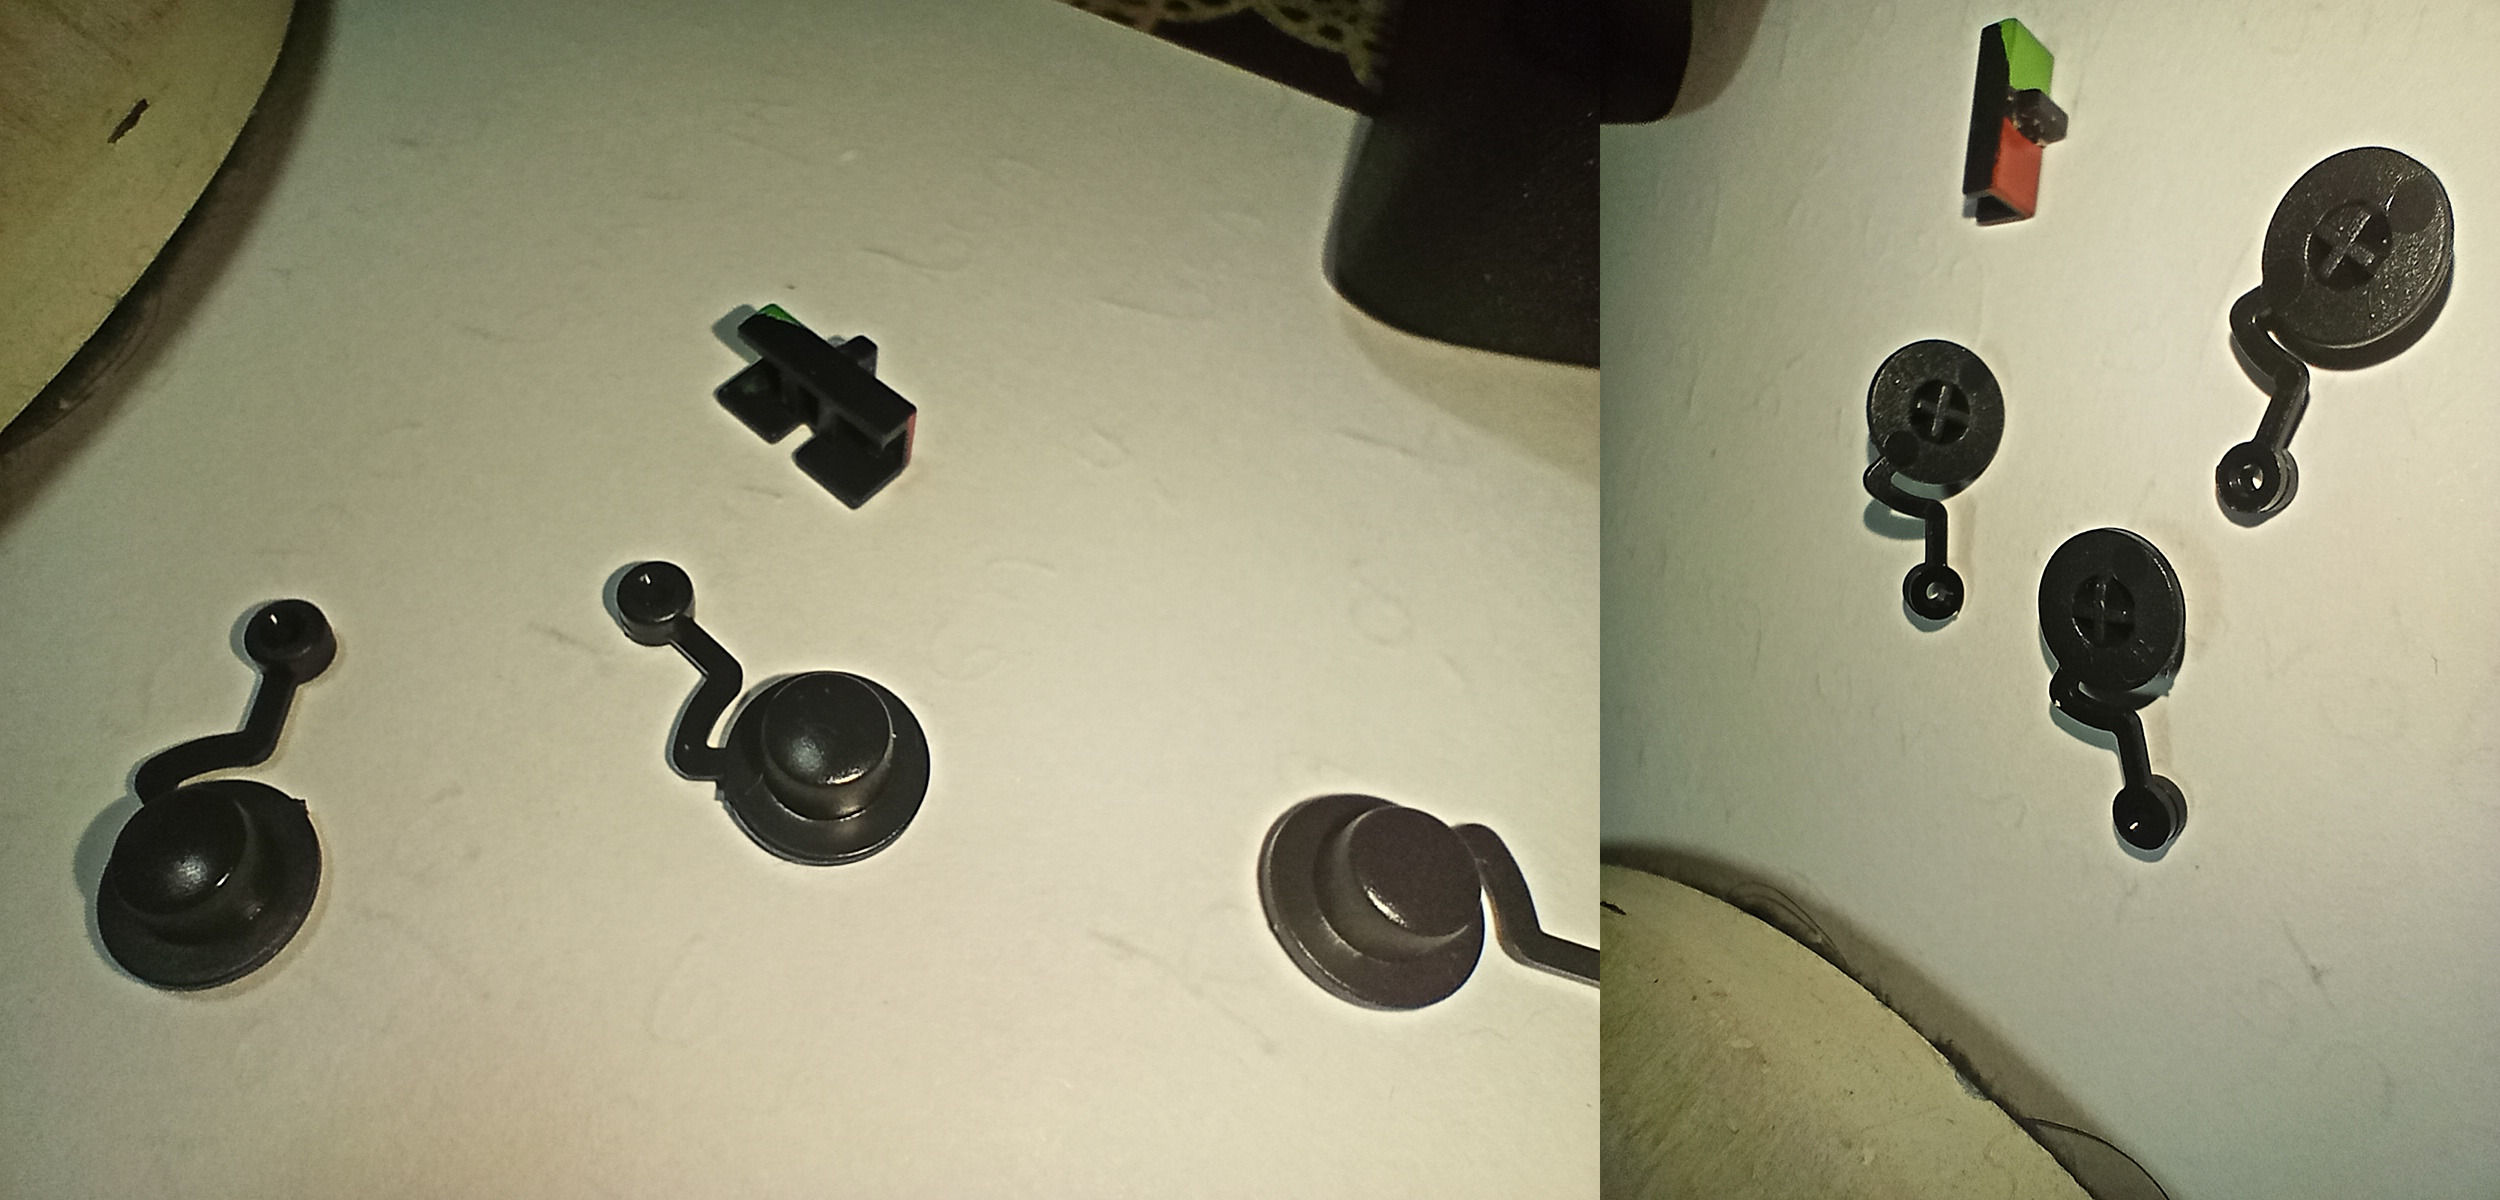
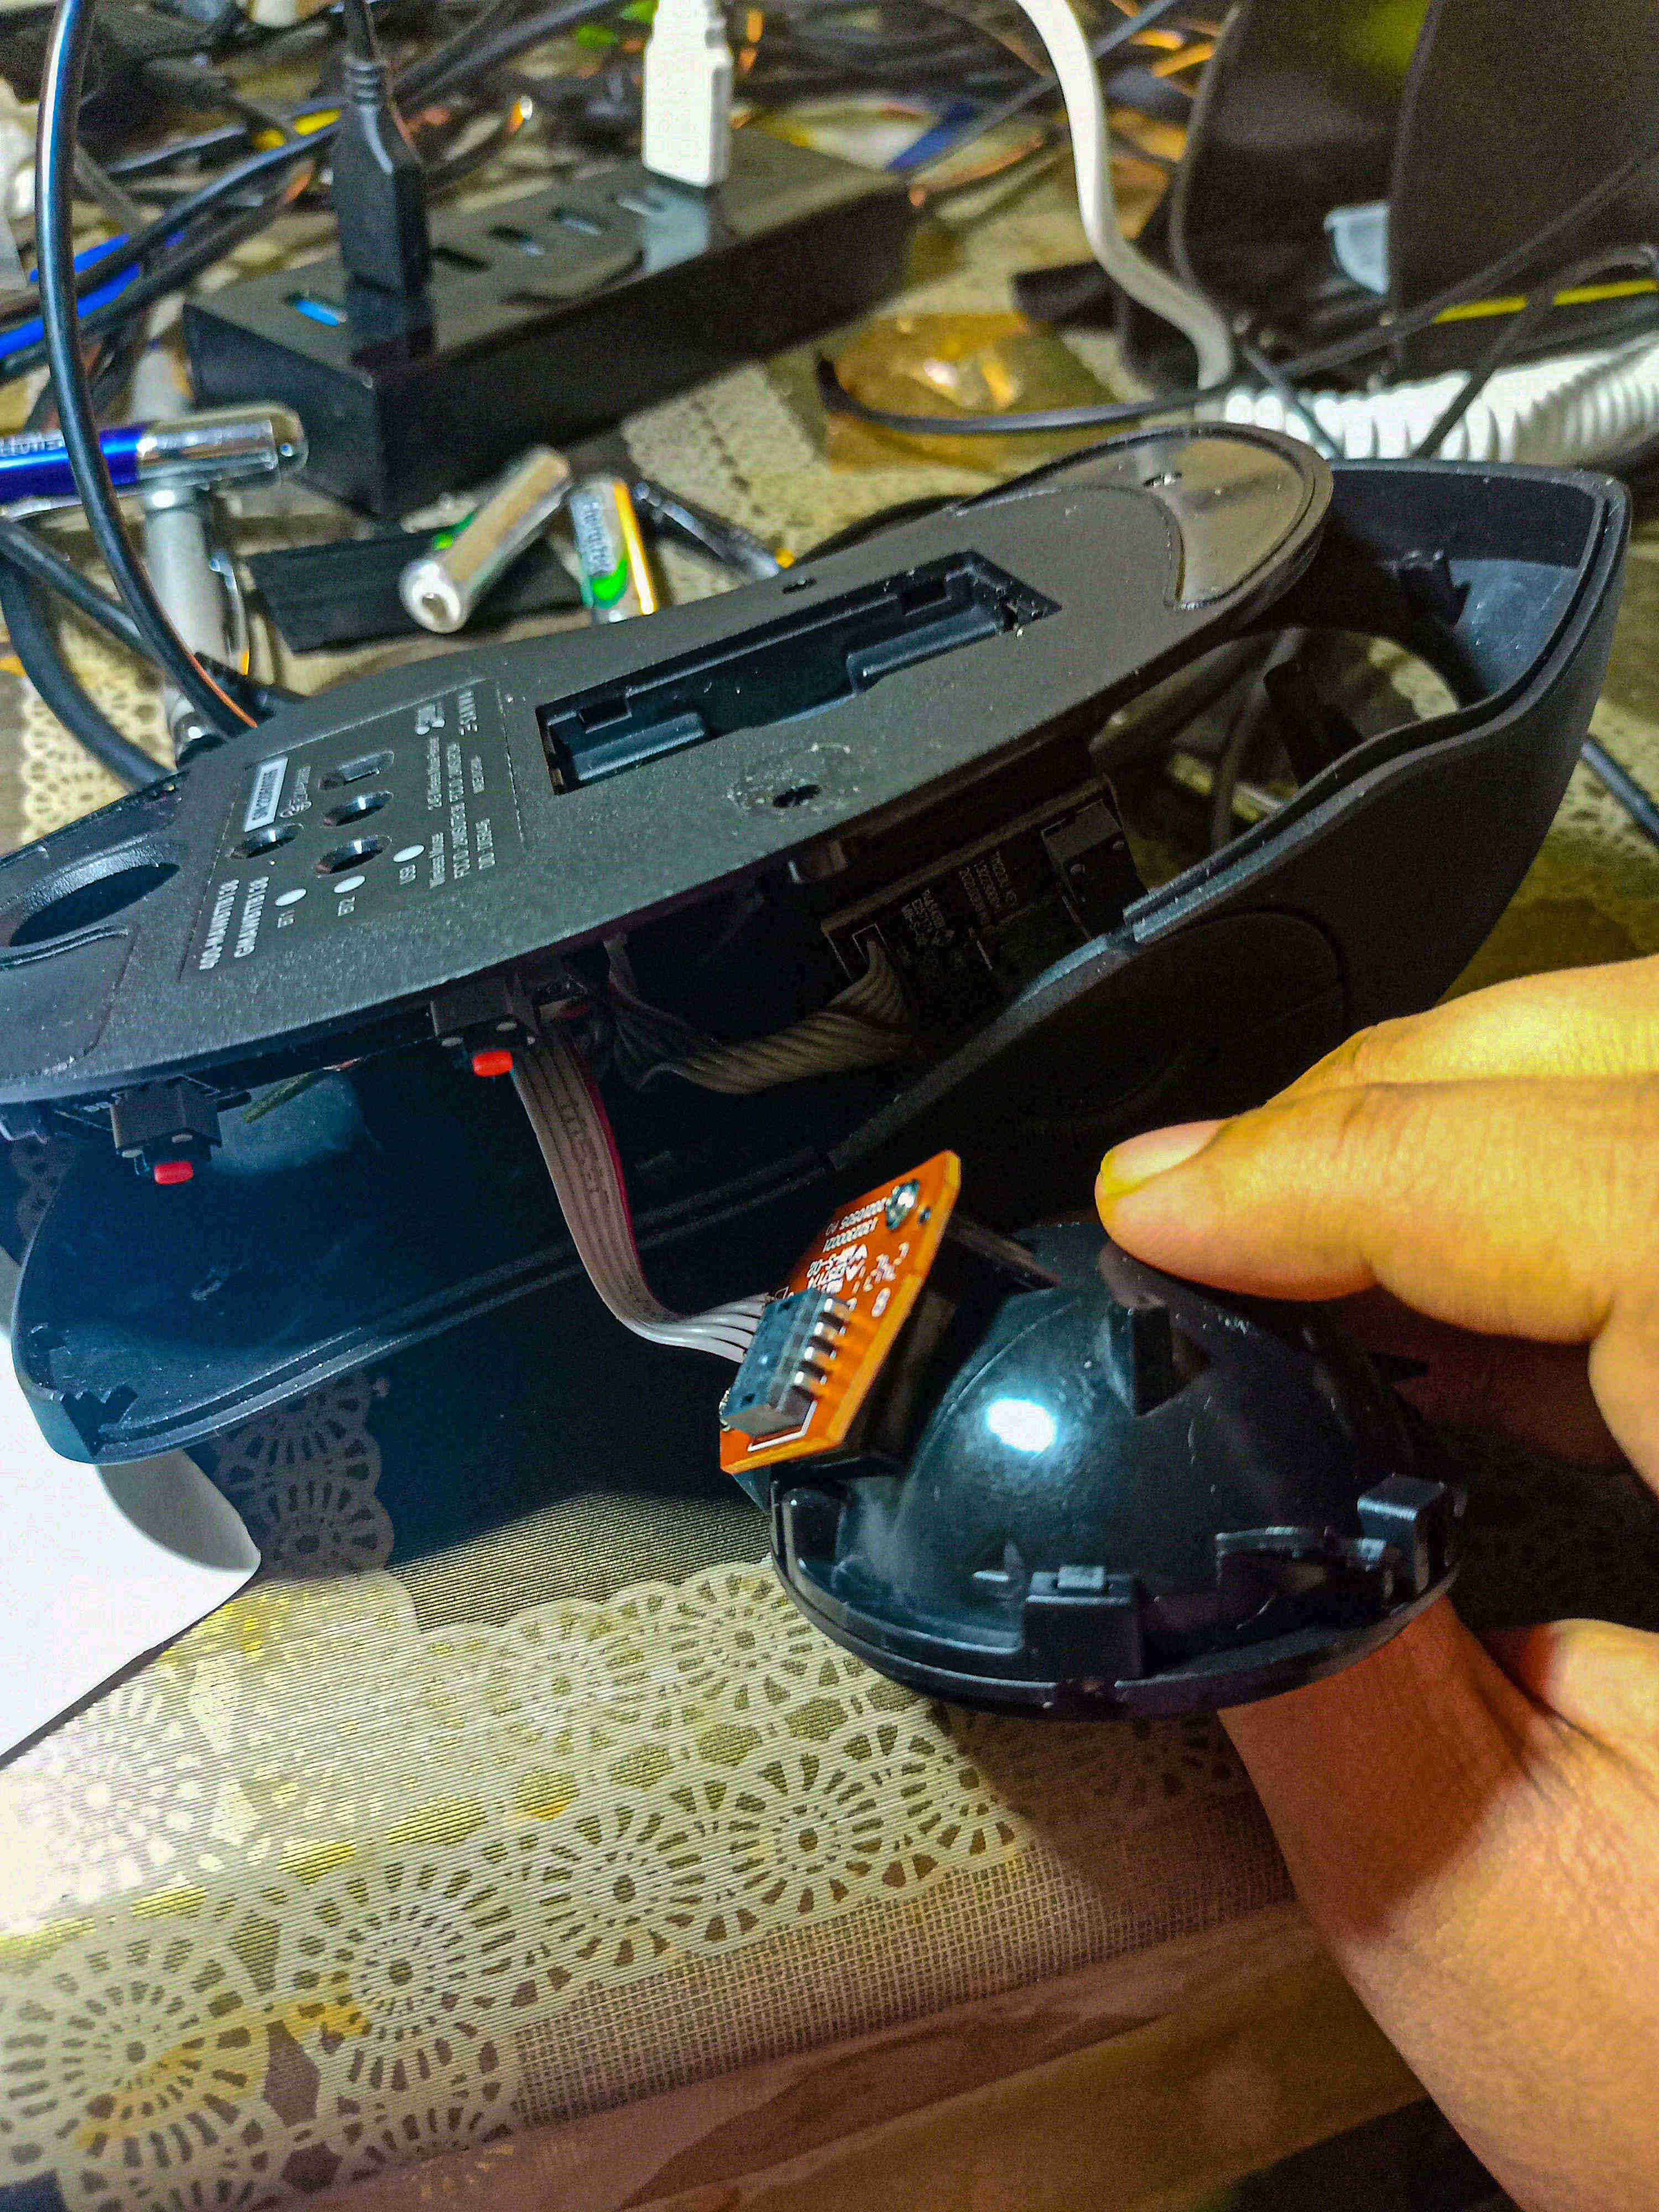
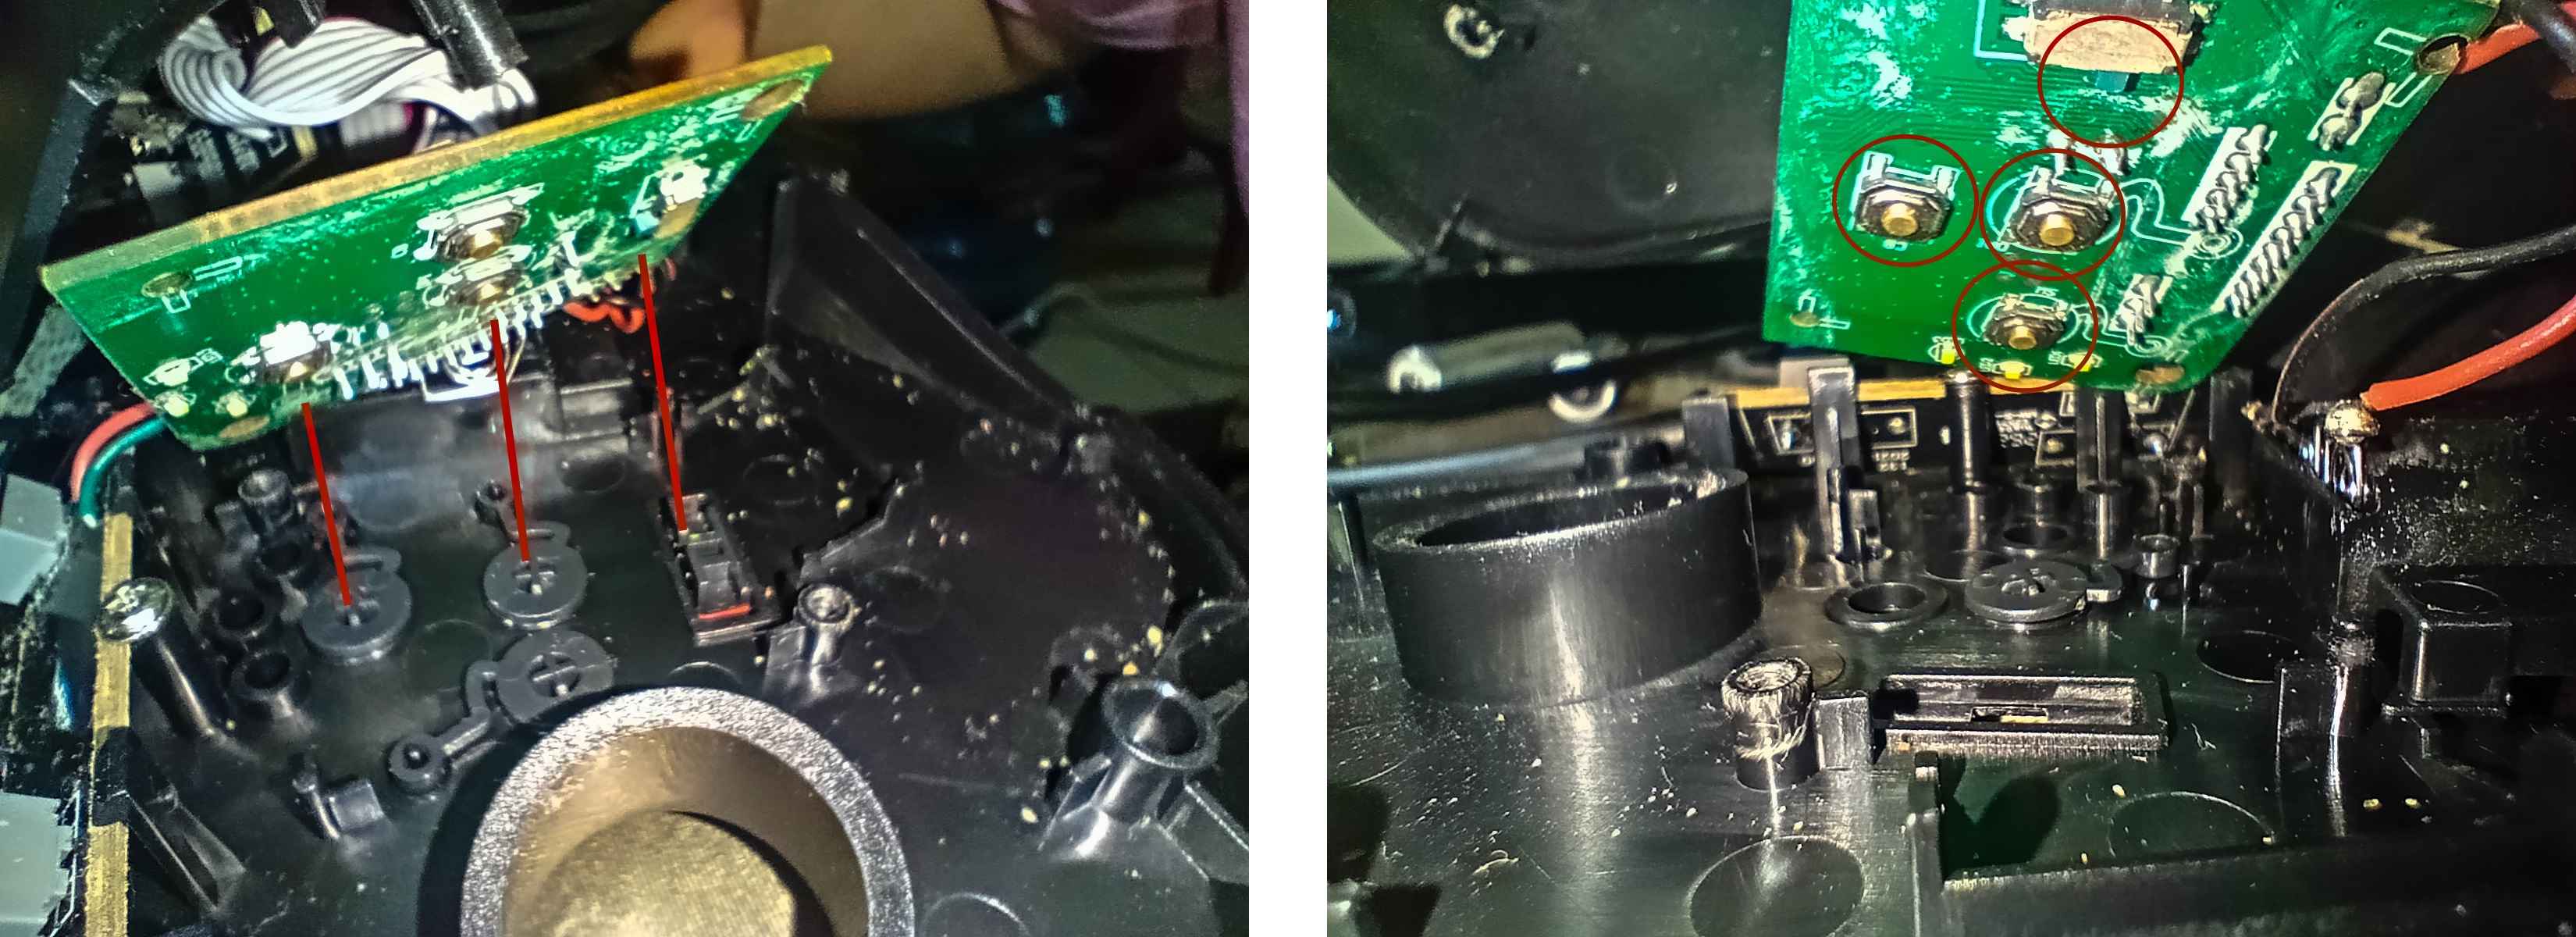
The base plate can be rotated to reveal all the relevant component parts, but you have to do it slowly and ensure that you do not damage all the internal connections.
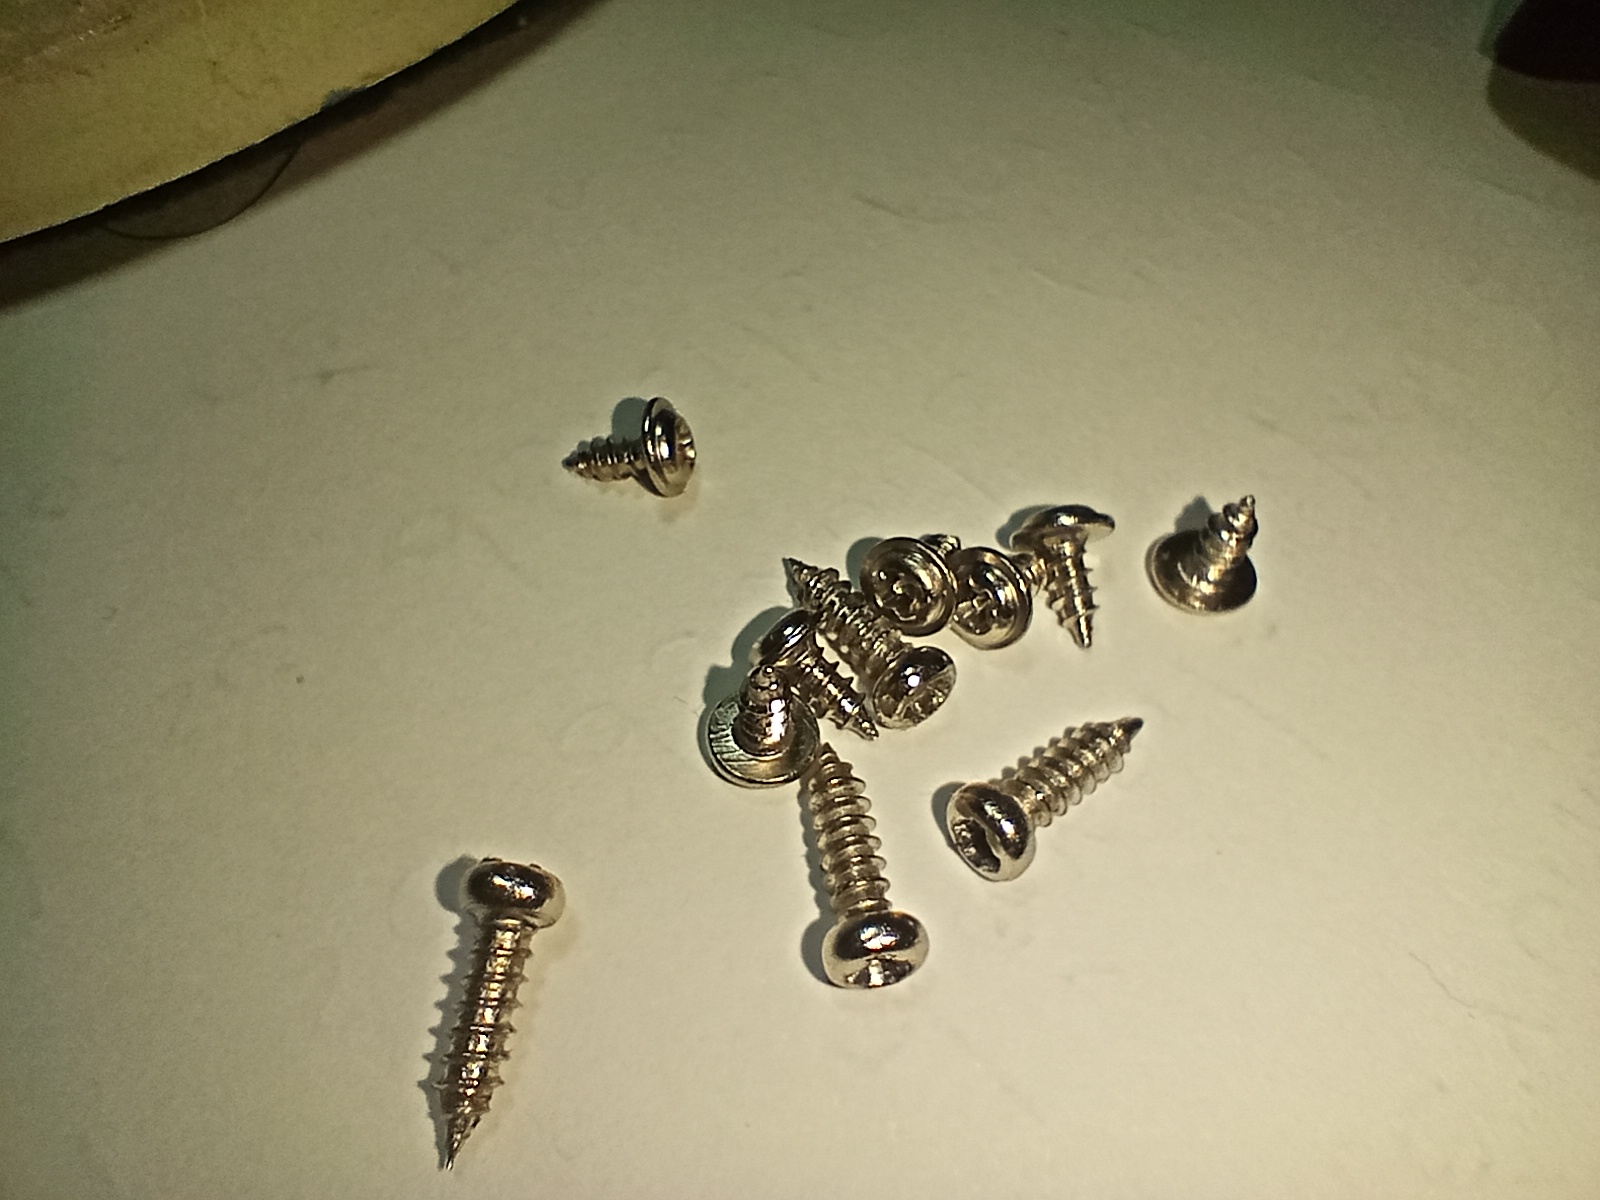
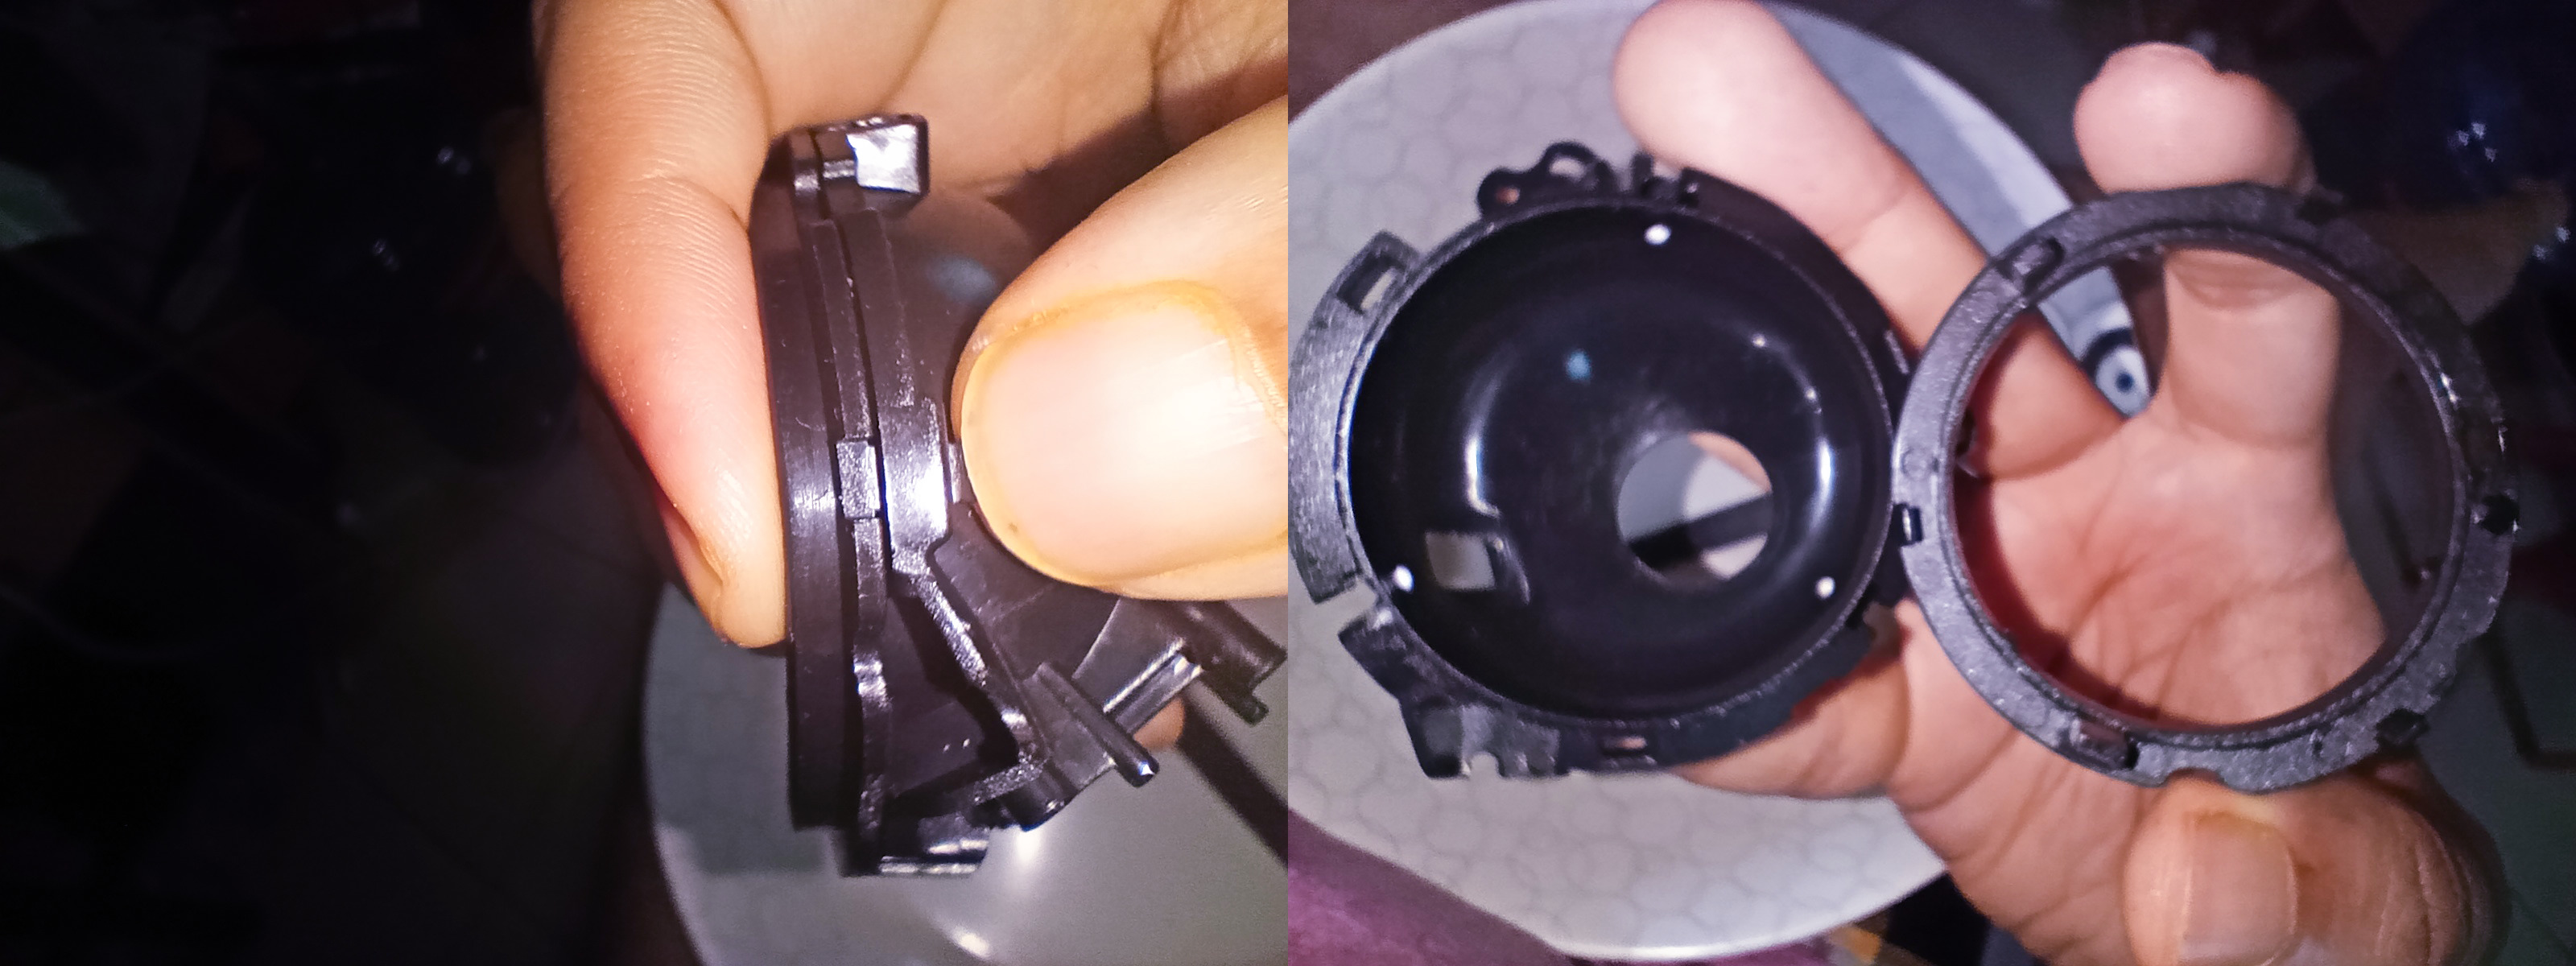
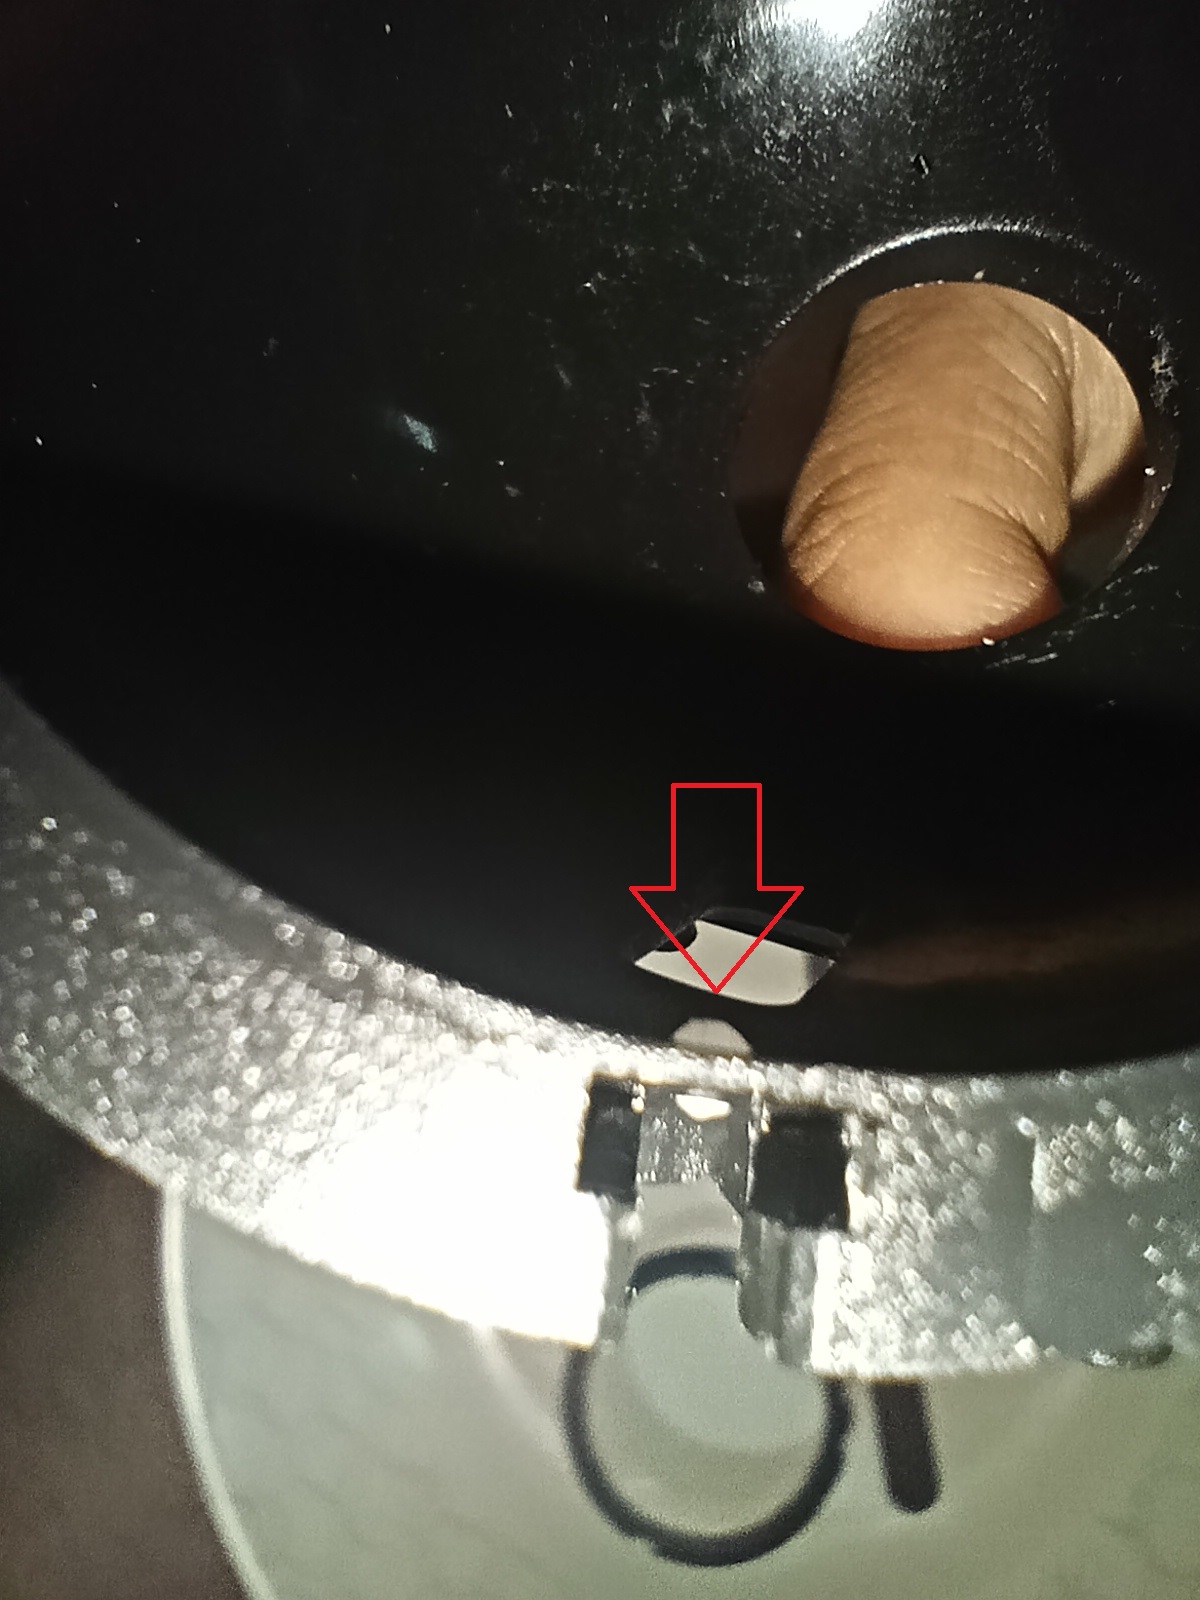
When you remove the controller connected to the ball holder, a small piece of transparent plastic cube will come off, you will need to put it back up during reassembly, it is part of the optical sensor.
comments powered by Disqus